

WidiLand IDO on Polkabridge Guide

Polkabridge is a successful launchpad with multiple IDOs sold out in record time. We are honored to be listed on Polkabridge for our IDO and in this article, we will guide how the public can participate in it.
Polkadbridge IDO guide
Step 1: Go to PolkaBridge Launchpad.
Step 2: Connect to your wallet by clicking “Connect my Wallet” at the left-hand top of the page.
After that, you can select your preferred network. Widi Land is built on Binance Smart Chain so please choose BSC and switch to the corresponding network in your wallet.
Step 3: Click on the WidiLand Private IDO.
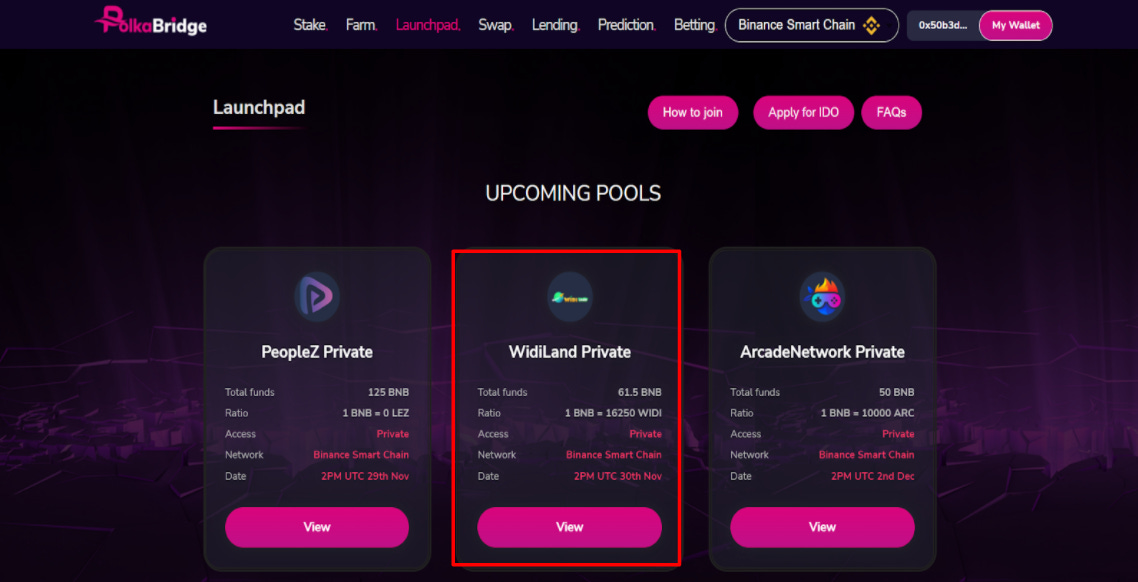
There are two rounds for every IDO, namely public and private pools. The first private round is for users staking PBR, who are entitled to receive the lion’s share of the allocation. If the first round isn’t sold out, the IDO proceeds to the public round, where everyone is allowed to participate.
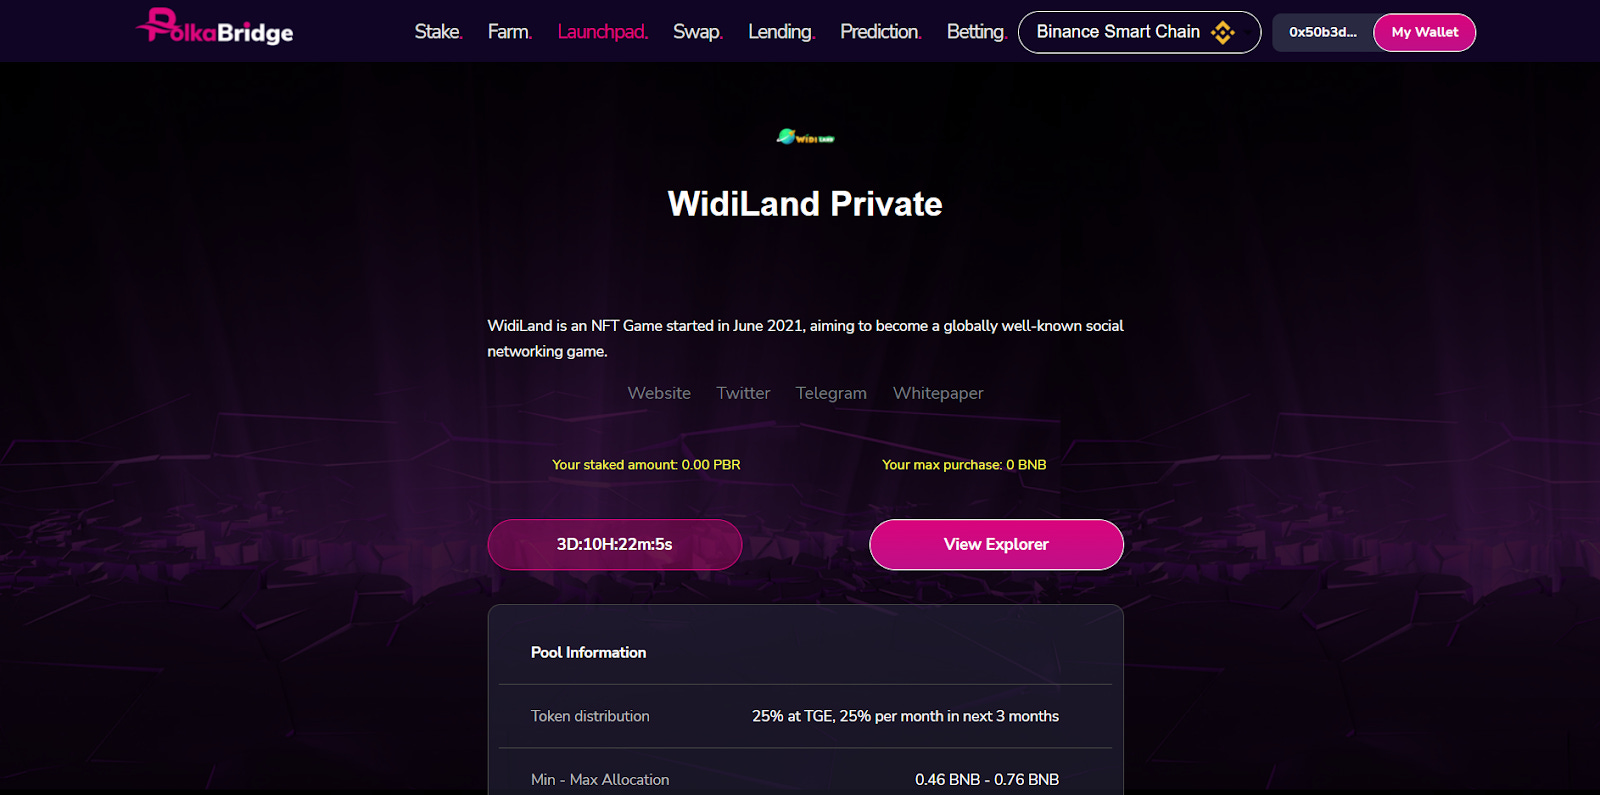
Moreover, you will be able to see basic information on Widi Land and its tokenomics here. Remember to keep an eye on the countdown clock, our IDO on Polkabridge will be held on the 30th of November.
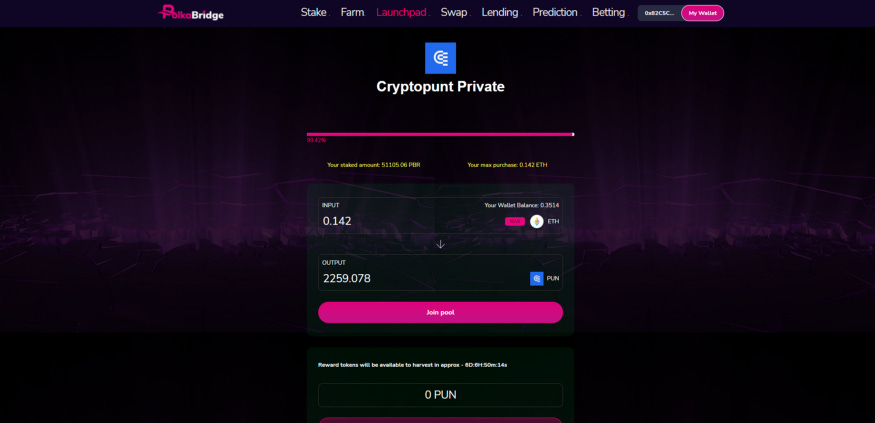
Step 4: The interface shows the PBR amount staked and the maximum amount that is available for your purchase. You can choose the amount that you want to invest and see the corresponding token that you will receive in return, based on the ratio. Click Join Pool again.
You will need to stake a minimum amount of 500 PBR. If the maximum individual allocation for IDO is $300, then:
If Staking from 500 PBR — 1499 PBR tokens, you will have 100$ allocation
If Staking from 1500 PBR — 2999 PBR tokens, you will have 200$ allocation
If Staking more than 3000 PBR tokens, you will have 300$ allocation
You can only stake PBR on the Polygon or Ethereum network, in the “Stake” tab. We recommend Polygon for lower gas fees and higher transaction speed.
If you do not have any PBR, you can purchase some at their “Swap” tab.
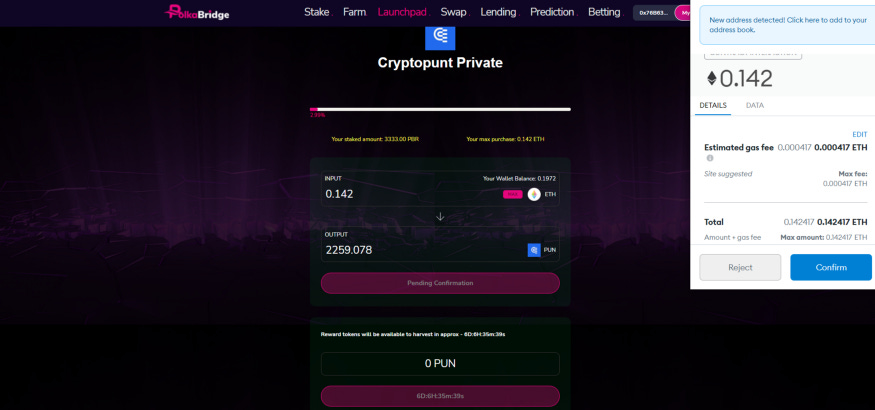
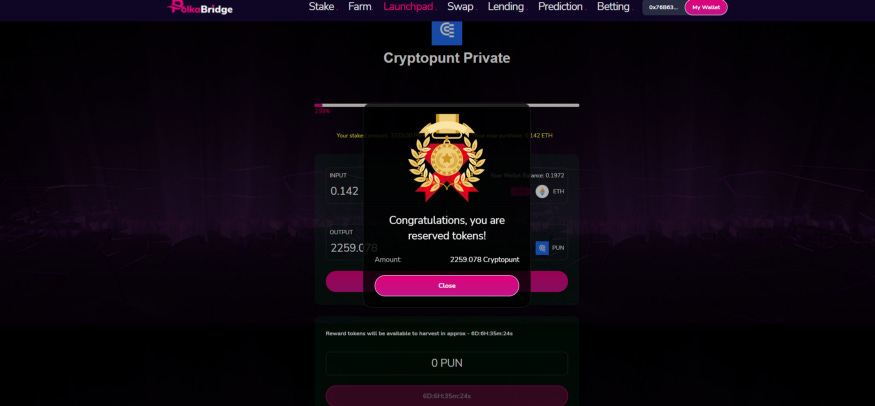
Step 5: Now, the MetaMask prompt will appear requesting you to confirm the transaction. Click confirm (and if you are using a hardware wallet, authorize the transaction there also). Once it’s confirmed on the blockchain, your tokens will appear, if you were successful in securing your allocation.
Step 6: Receive your token and remember to add Widi Land token contract in your wallet so that you can see the total amount as well as send and transfer that token.
We wish you good luck, Widians!